A table saw is only as good as what it sits on. Whether someone owns a lightweight jobsite saw or a hefty cabinet model, the right stand transforms how the tool performs. It affects cut accuracy, workflow efficiency, and most importantly, safety. Too many DIYers spend hundreds on a quality saw, then bolt it to a wobbly workbench or flimsy legs that flex during rip cuts. The stand isn’t an afterthought, it’s the foundation for every crosscut, dado, and miter that follows.
Table of Contents
ToggleKey Takeaways
- A quality table saw stand is the foundation for precision cuts and safety—it eliminates vibration, maintains blade alignment, and directly impacts the accuracy of every crosscut, dado, and miter.
- Choose between portable stands for jobsite flexibility and stationary stands for maximum stability and vibration dampening, or invest in rolling stands with locking casters that offer both mobility and rigidity when needed.
- Look for a table saw stand with material extensions, quick-mount systems, dust port compatibility, and weight ratings at least 3x the saw’s weight to ensure safe operation with full sheets of material.
- Ensure your stand is level before bolting down the saw, set the working height to reduce fatigue (34-36 inches for most users), and secure stationary setups to the floor to prevent tipping during heavy cuts.
- Building a custom stand costs $75-$150 and allows woodworkers to add integrated features like crosscut sleds or exact height matching, using 2×4 lumber frames and ¾-inch plywood tops with threaded inserts for removable mounting.
- Inspect your table saw stand monthly for cracks, loose joints, and bent components, and retighten all mounting bolts after the first few hours of use since vibration naturally loosens hardware over time.
Why Every Table Saw Owner Needs a Dedicated Stand
Stability drives precision. A dedicated table saw stand eliminates vibration and keeps the saw level during operation, which directly impacts blade alignment and cut quality. Generic sawhorses or improvised supports can’t match the rigidity of a purpose-built stand, especially when feeding full sheets of plywood or long rip cuts.
Weight capacity matters more than most realize. A typical jobsite saw weighs 50–70 lbs, but add a sheet of ¾” plywood and the total load jumps past 120 lbs. Stands rated for 300+ lbs provide headroom for material handling without flex.
Portability becomes essential for anyone working across job sites or in a garage that doubles as parking. Folding stands with quick-release brackets let users set up in under two minutes and break down just as fast. Fixed stands work best in dedicated shop spaces where the saw stays put.
Height adjustment shouldn’t be overlooked. Standard table saw height sits around 34 inches, matching most workbenches, but taller users benefit from adjustable legs that reduce back strain during long sessions. Some stands offer leveling feet to compensate for uneven floors, critical in older garages with settling concrete.
Types of Table Saw Stands Explained
Portable vs. Stationary Stands
Portable stands use folding legs and lightweight steel construction, typically weighing 25–40 lbs. They’re designed for 10-inch jobsite saws and compact benchtop models. Most feature tool-free setup with spring-loaded releases or cam locks. Brands like DEWALT and Bosch build stands that collapse to under 10 inches thick for truck bed storage.
Stationary stands prioritize mass and rigidity. Welded steel frames or heavy-gauge sheet metal bases anchor cabinet saws and hybrid models that weigh 200+ lbs. These stands often include enclosed storage for blades, push sticks, and accessories. They’re not moving once assembled, plan the shop layout accordingly.
The tradeoff is clear: portability sacrifices some stability, while stationary stands sacrifice mobility. Jobsite carpenters need portability: dedicated woodworkers building furniture projects benefit from stationary mass that dampens vibration.
Rolling Stands and Mobile Bases
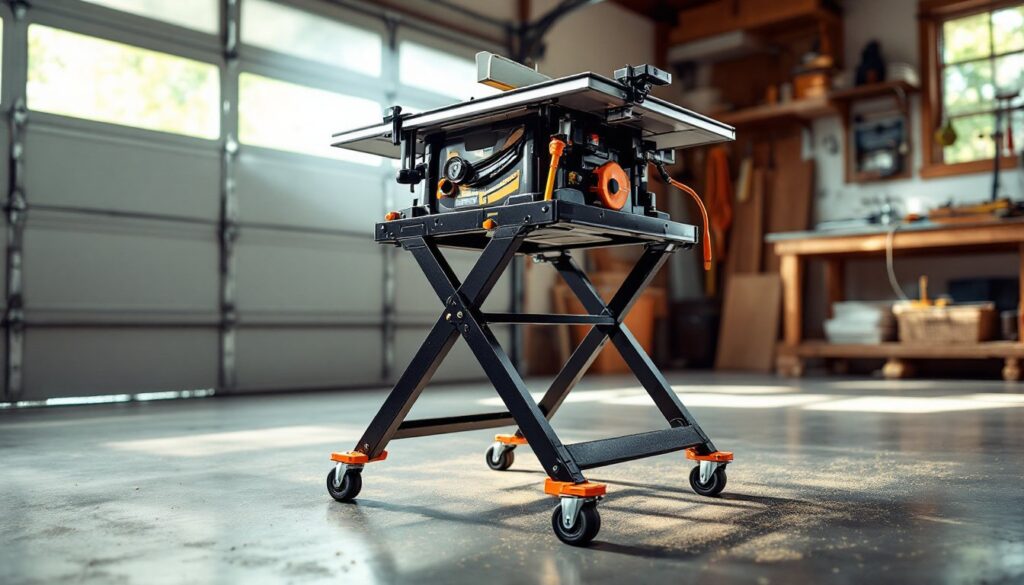
Rolling stands bridge the gap. They mount locking casters, typically 3-inch swivel wheels rated for 100+ lbs each, so the saw moves when needed but locks solid during use. Retractable casters drop the stand onto rubber feet for operation, lifting it back onto wheels for transport.
Mobile bases differ slightly. They’re aftermarket platforms that bolt under existing saws or stationary stands, adding mobility without replacing the original support structure. This works well for upgrading a cabinet saw that started life bolted to the floor.
Wheel quality matters. Polyurethane wheels roll smoothly on concrete without marring, while hard rubber handles rough surfaces better. Ball-bearing swivels prevent the saw from drifting during moves. Cheap casters wobble and fail, expect to spend $60–$100 for a quality set of four.
Key Features to Look for When Buying a Table Saw Stand
Material extensions save the most headaches. Built-in side supports or roller attachments prevent sheet goods from tipping mid-cut. Look for stands with extendable arms that support at least 24 inches beyond the table edge. Some models include adjustable roller stands that clamp directly to the frame.
Quick-mount systems beat bolt-on brackets every time. Proprietary mounting rails from manufacturers like Ridgid and Makita let users drop the saw onto the stand and lock it with twist knobs in seconds. Universal stands require drilling mounting holes and hardware that loosens over time.
Dust port compatibility often gets ignored until sawdust piles up. Better stands include or accommodate dust shrouds that connect to shop vacs. A 2.5-inch port fits most standard hoses. This isn’t about cleanliness, it’s about visibility and respiratory health. Always wear a dust mask when cutting, even with collection.
Storage hooks and shelves add real utility. Dedicated spots for the miter gauge, rip fence, and push sticks keep essentials within arm’s reach. Some stands build in electrical outlets or cord wraps, small touches that eliminate extension cord tangles.
Weight ratings should exceed the saw’s weight by at least 3x to account for material and cutting forces. A stand rated for 250 lbs handles a 70-lb saw plus plywood safely. Underrated stands flex, which throws off fence alignment and introduces blade drift.
DIY Table Saw Stand: Building Your Own Custom Solution
Building a custom stand makes sense for woodworkers with specific workflow needs or space constraints. A shop-built stand costs $75–$150 in materials and delivers features that off-the-shelf options skip, like integrated crosscut sleds, router table wings, or exact height matching to adjacent workbenches.
Start with a sturdy frame. Use 2×4 construction-grade lumber (actual dimensions 1.5″ x 3.5″) for the legs and cross-bracing. Avoid warped studs, sight down the length before buying. Bolt joints with ⅜-inch carriage bolts and washers: wood screws alone won’t handle racking forces. Many detailed build plans walk through frame construction step-by-step.
The top demands dimensional stability. ¾-inch plywood (preferably Baltic birch or cabinet-grade) provides a flat, rigid surface. Cheaper sheathing plywood warps with humidity swings. Cut the top 6 inches wider and longer than the saw’s base to allow clamping room for jigs and stops.
Mount the saw with lag screws into embedded T-nuts or threaded inserts in the plywood. This creates a removable mount that doesn’t tear out like wood screws. Drill clearance holes slightly oversized to allow micro-adjustments for squaring the blade to the miter slots.
Add leveling feet or adjustable legs if the shop floor isn’t flat. Furniture glides with threaded stems let users dial in perfect height. Finish with a couple coats of polyurethane or paste wax on the top surface, smoother material feed and easier cleanup.
Safety note: If building a stand for a saw over 100 lbs, add diagonal bracing or a plywood gusset at each corner to prevent racking. A stand that wobbles during a cut is dangerous, period.
How to Set Up and Optimize Your Table Saw Stand for Safety
Level the stand before bolting down the saw. Use a 48-inch level across both axes and shim the legs until the bubble centers. An unlevel saw throws off blade-to-miter-slot alignment, causing binding and kickback risk.
Check the saw mounting after the first few hours of use. Vibration loosens hardware. Retighten all bolts and verify the saw hasn’t shifted. Mark the correct position with a pencil line so any future movement shows immediately.
Set the working height to reduce fatigue and improve control. The tabletop should sit roughly at wrist height when standing upright, 34 to 36 inches for most users. Too low forces hunching: too high sacrifices downward pressure for controlling workpieces.
Secure the stand to the floor in stationary setups. Lag bolts into concrete anchors or blocking screwed to wall studs prevent tipping during heavy rip cuts. This matters most with lighter stands supporting big saws, the center of gravity shifts when the fence extends.
Position the stand with adequate clearance on all sides. Allow at least 4 feet behind the blade for outfeed support and 6+ feet to the right for ripping long stock. Cramped spaces lead to awkward body positions and poor control. Some builders rely on project tutorials to plan efficient shop layouts around the saw.
Always wear safety glasses and hearing protection when operating a table saw. Keep push sticks within immediate reach, mounted to the stand or hanging on a nearby hook. Never reach over or behind a spinning blade, and use a riving knife or splitter to reduce kickback.
Inspect the stand monthly for cracks, loose joints, or bent components. Portable stands take abuse during transport: stationary stands accumulate sawdust in joints that can hide structural issues. A compromised stand is a safety hazard that’s easy to miss until it fails mid-cut.