A warm refrigerator is more than an inconvenience, it’s a race against spoilage and wasted groceries. If your Whirlpool refrigerator isn’t getting cold, the freezer’s still humming along fine, or your brand-new unit refuses to drop below room temperature, you’re not alone. These issues happen, and they’re often fixable without a service call. Most cooling failures trace back to a handful of common culprits: dirty coils, faulty fans, poor airflow, or simple user error. Before you schedule a repair or start shopping for a replacement, walk through these seven diagnostic checks. You’ll need basic hand tools, a vacuum, and about an hour. Let’s get that fridge back to work.
Table of Contents
ToggleKey Takeaways
- A Whirlpool refrigerator not cooling often results from dirty condenser coils, faulty fans, or thermostat errors—issues you can diagnose and fix yourself with basic tools.
- Always start with simple troubleshooting: verify the thermostat is set to 37°F for the fridge and 0°F for the freezer, and check if the unit is stuck in demo mode.
- Clean condenser coils every six months (or annually for homes without pets) to prevent heat dissipation failure, the leading cause of cooling problems in refrigerators over two years old.
- Test your evaporator and condenser fan motors by listening for the expected humming and whirring sounds when the doors are closed; silent fans typically indicate motor failure requiring a $30–$100 replacement part.
- Inspect door gaskets using the dollar bill test and clear all air vents and obstructions to ensure proper airflow, as blocked vents and leaky seals force the compressor to overwork.
- If these seven diagnostic checks don’t restore cooling, the issue likely involves the compressor or sealed refrigerant system, which require an EPA-certified technician and may warrant replacement if your unit is over ten years old.
Check the Thermostat and Temperature Settings
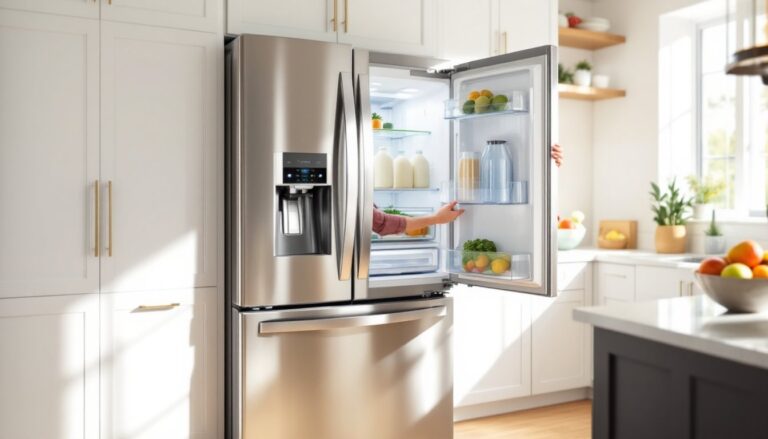
Start with the simplest explanation: someone bumped the thermostat. It happens more often than you’d think, especially in busy kitchens or homes with curious kids. Open the fridge and locate the temperature control dial or digital display, usually on the ceiling, back wall, or side panel.
Whirlpool recommends 37°F for the refrigerator compartment and 0°F for the freezer. If the dial’s been nudged to “Off” or the warmest setting, that’s your answer. Adjust it back to the mid-range or recommended setting and wait 24 hours before judging results. Refrigerators don’t cool instantly: the compressor and fans need time to cycle and stabilize.
If you recently had a power outage or unplugged the unit for cleaning, the thermostat may have reset. Double-check settings after any interruption. For new Whirlpool refrigerators not cooling right out of the box, confirm the settings weren’t left on demo mode, a retail display feature that disables cooling while keeping lights on. Consult your owner’s manual for the button sequence to exit demo mode: it varies by model but often involves holding two buttons simultaneously for a few seconds.
Inspect and Clean the Condenser Coils
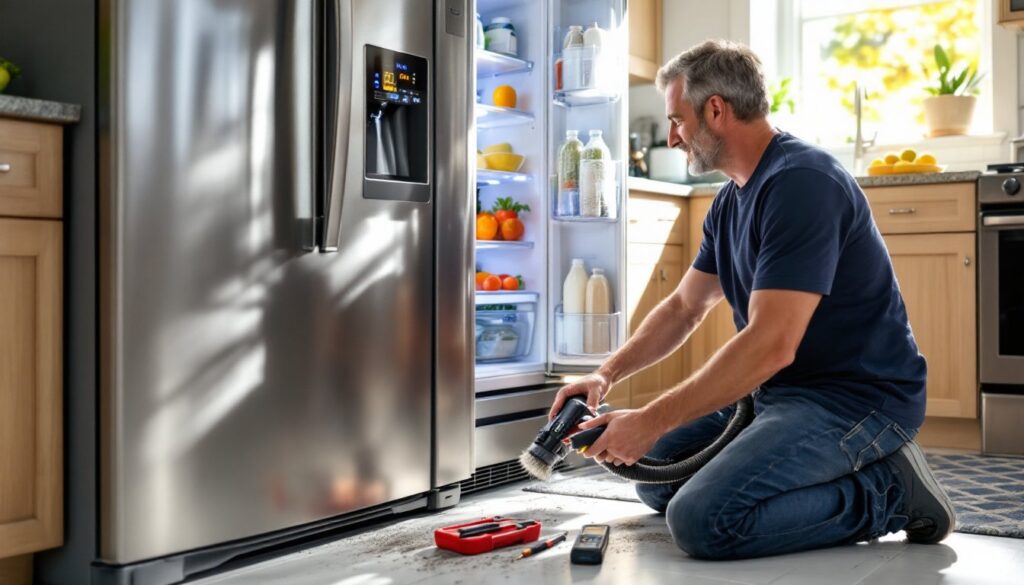
Dirty condenser coils are the leading cause of cooling failure in refrigerators over two years old. These coils, located either on the back panel or behind a kick plate at the bottom front, dissipate heat from the refrigerant. When dust, pet hair, and kitchen grease coat the coils, heat can’t escape efficiently, forcing the compressor to run hot and struggle.
Safety first: Unplug the refrigerator or flip the breaker. Locate the coils, if they’re rear-mounted, pull the fridge away from the wall (you’ll need a second person for larger units). For bottom-mount coils, remove the kick plate by popping out the plastic clips or unscrewing fasteners.
Use a coil brush (available at hardware stores for under $10) or a vacuum with a crevice attachment to clear debris. Work gently: coil fins bend easily. If you’re dealing with greasy buildup, a soft-bristle brush and a spray of degreaser designed for appliances can help, but avoid soaking electrical components. Vacuum again to remove loosened grime.
Clean coils every six months if you have pets, annually otherwise. This single task can restore cooling and extend compressor life. Plug the unit back in, slide it into place (leave at least 1-2 inches clearance at the back for airflow), and monitor temps over the next day. Many refrigerator cooling problems resolve after a thorough coil cleaning.
Test the Evaporator Fan Motor
If your Whirlpool refrigerator isn’t cooling but the freezer works fine, suspect the evaporator fan motor. This fan, located inside the freezer compartment behind a rear panel, circulates cold air from the evaporator coils into the fridge section. When it fails, the freezer stays cold while the fridge warms up, a telltale split symptom.
Diagnostic test: Open the freezer door and listen. You should hear a quiet whirring from the fan. If it’s silent, press the door switch (the button the door presses when closed) to trick the fridge into thinking the door is shut, some models stop the fan when the door opens. Still no sound? The motor’s likely dead or the fan blade is jammed.
Access the fan: Unplug the fridge. Remove shelves and bins from the freezer to reach the rear evaporator cover, typically held by Phillips-head screws or snap clips. Once the panel’s off, you’ll see the fan assembly. Try spinning the blade by hand. If it’s stuck or grinds, ice buildup or a worn bearing is the issue. If it spins freely but doesn’t run, the motor’s burned out.
Replacement evaporator fan motors for Whirlpool models run $30–$80 and are DIY-friendly with basic tools. You’ll disconnect a wire harness and remove mounting screws. If you’re uncomfortable working near refrigerant lines (visible as copper or aluminum tubes), call a tech, puncturing a line turns a simple fix into an expensive refrigerant recharge.
Examine the Condenser Fan Motor
The condenser fan motor sits near the compressor, usually at the bottom rear of the unit. Its job is to blow air across the condenser coils and cool the compressor itself. When this fan fails, the compressor overheats and shuts down on its thermal limiter, leaving you with a warm fridge and warm freezer.
Quick check: Pull the fridge out and listen while it’s running. You should hear both the compressor hum and a steady fan. If the compressor’s running but you hear no fan, you’ve found the problem. Unplug the unit and remove the rear access panel (usually quarter-inch hex or Phillips screws). Locate the fan near the compressor, often a small black or white plastic assembly.
Spin the fan blade manually. If it wobbles, clicks, or resists, the motor bearings are shot. If it spins smoothly, test the motor with a multimeter set to continuity. Disconnect the wire leads and probe the motor terminals. A reading of OL (open loop) means the motor’s cooked and needs replacement. Working motors show resistance in the range specified in your service manual, typically 50–200 ohms.
Condenser fan motors cost $40–$100 depending on the model. Replacement is straightforward: disconnect wires, remove mounting screws or clips, swap the old fan for the new one, and reassemble. Wear work gloves: sheet metal edges around the fan housing are sharp. This repair often overlaps with coil cleaning since you’re already back there.
Assess the Door Seals and Gaskets
Leaky door gaskets let warm, humid air infiltrate the fridge, forcing the compressor to run continuously while struggling to maintain temperature. Over time, gaskets crack, stiffen, or lose magnetism, especially around the hinge side where stress is highest.
Dollar bill test: Close the door on a dollar bill so half hangs out. Try pulling it free. You should feel resistance. Repeat around the entire perimeter, top, bottom, hinge side, and latch side. If the bill slides out easily anywhere, that section’s compromised.
Inspect the gasket for visible cracks, tears, or mold. Clean dirty gaskets with warm water and a drop of dish soap, then dry thoroughly. Sometimes a cleaning restores the seal. If the gasket’s deformed but not torn, try this: soak a towel in hot water, wring it out, and press it against the warped section for a few minutes to soften the rubber, then reshape it by hand.
For failed gaskets, replacement is the only fix. Order the correct part by model number (found on a sticker inside the fridge or on the sidewall). Gaskets run $50–$150 and install without tools on most models, just peel off the old one from the retainer groove and press the new one in, starting at the corners. Some older models require loosening door liner screws: check your manual. Common refrigerator issues like poor cooling often improve dramatically after a gasket swap.
Check for Blocked Air Vents and Overloading
Refrigerators rely on internal air circulation to distribute cold air from the evaporator. Blocking vents or cramming shelves too full chokes off this airflow, creating warm spots and forcing the compressor to overwork without solving the problem.
Locate the vents: Most Whirlpool models have vents along the back wall of the fridge compartment and sometimes in the freezer ceiling. These openings connect to the evaporator fan. Check that food containers, tall bottles, or deli drawers aren’t pressed against the vents. Leave at least 1 inch clearance.
Overloading is a sneakier issue. A fridge packed to the gills blocks air from flowing between shelves and around items. Cold air sinks, so items on lower shelves may feel colder than upper ones, but obstruction anywhere disrupts the cycle. A good rule: if you can’t see the back wall through the shelves, you’ve probably overloaded it.
Also verify the exterior venting isn’t blocked. Refrigerators need clearance at the back and sides, check your manual, but 1–2 inches at the rear and 0.5 inches on sides is typical. Built-in units or those shoved tight into cabinetry can overheat if ventilation grilles are covered. Pull the fridge forward slightly if needed, or install spacer blocks to maintain clearance. This is especially critical in compact kitchen layouts where every inch counts.
After clearing vents and reducing load, give the fridge 12–24 hours to stabilize. If temps don’t drop, move to mechanical diagnostics.
Conclusion
Most Whirlpool refrigerator cooling issues come down to maintenance neglect or minor mechanical failures you can handle with basic tools and patience. Clean those coils, test the fans, verify settings, and ensure proper airflow before you write off the appliance. If you’ve worked through these checks and the fridge still won’t cool, the problem likely lies with the compressor, sealed refrigerant system, or control board, repairs that require an EPA-certified tech and specialized equipment. At that point, weigh repair costs against replacement, especially for units over ten years old.